

Database Wizard – AdminBolt Hosting Panel
Overview
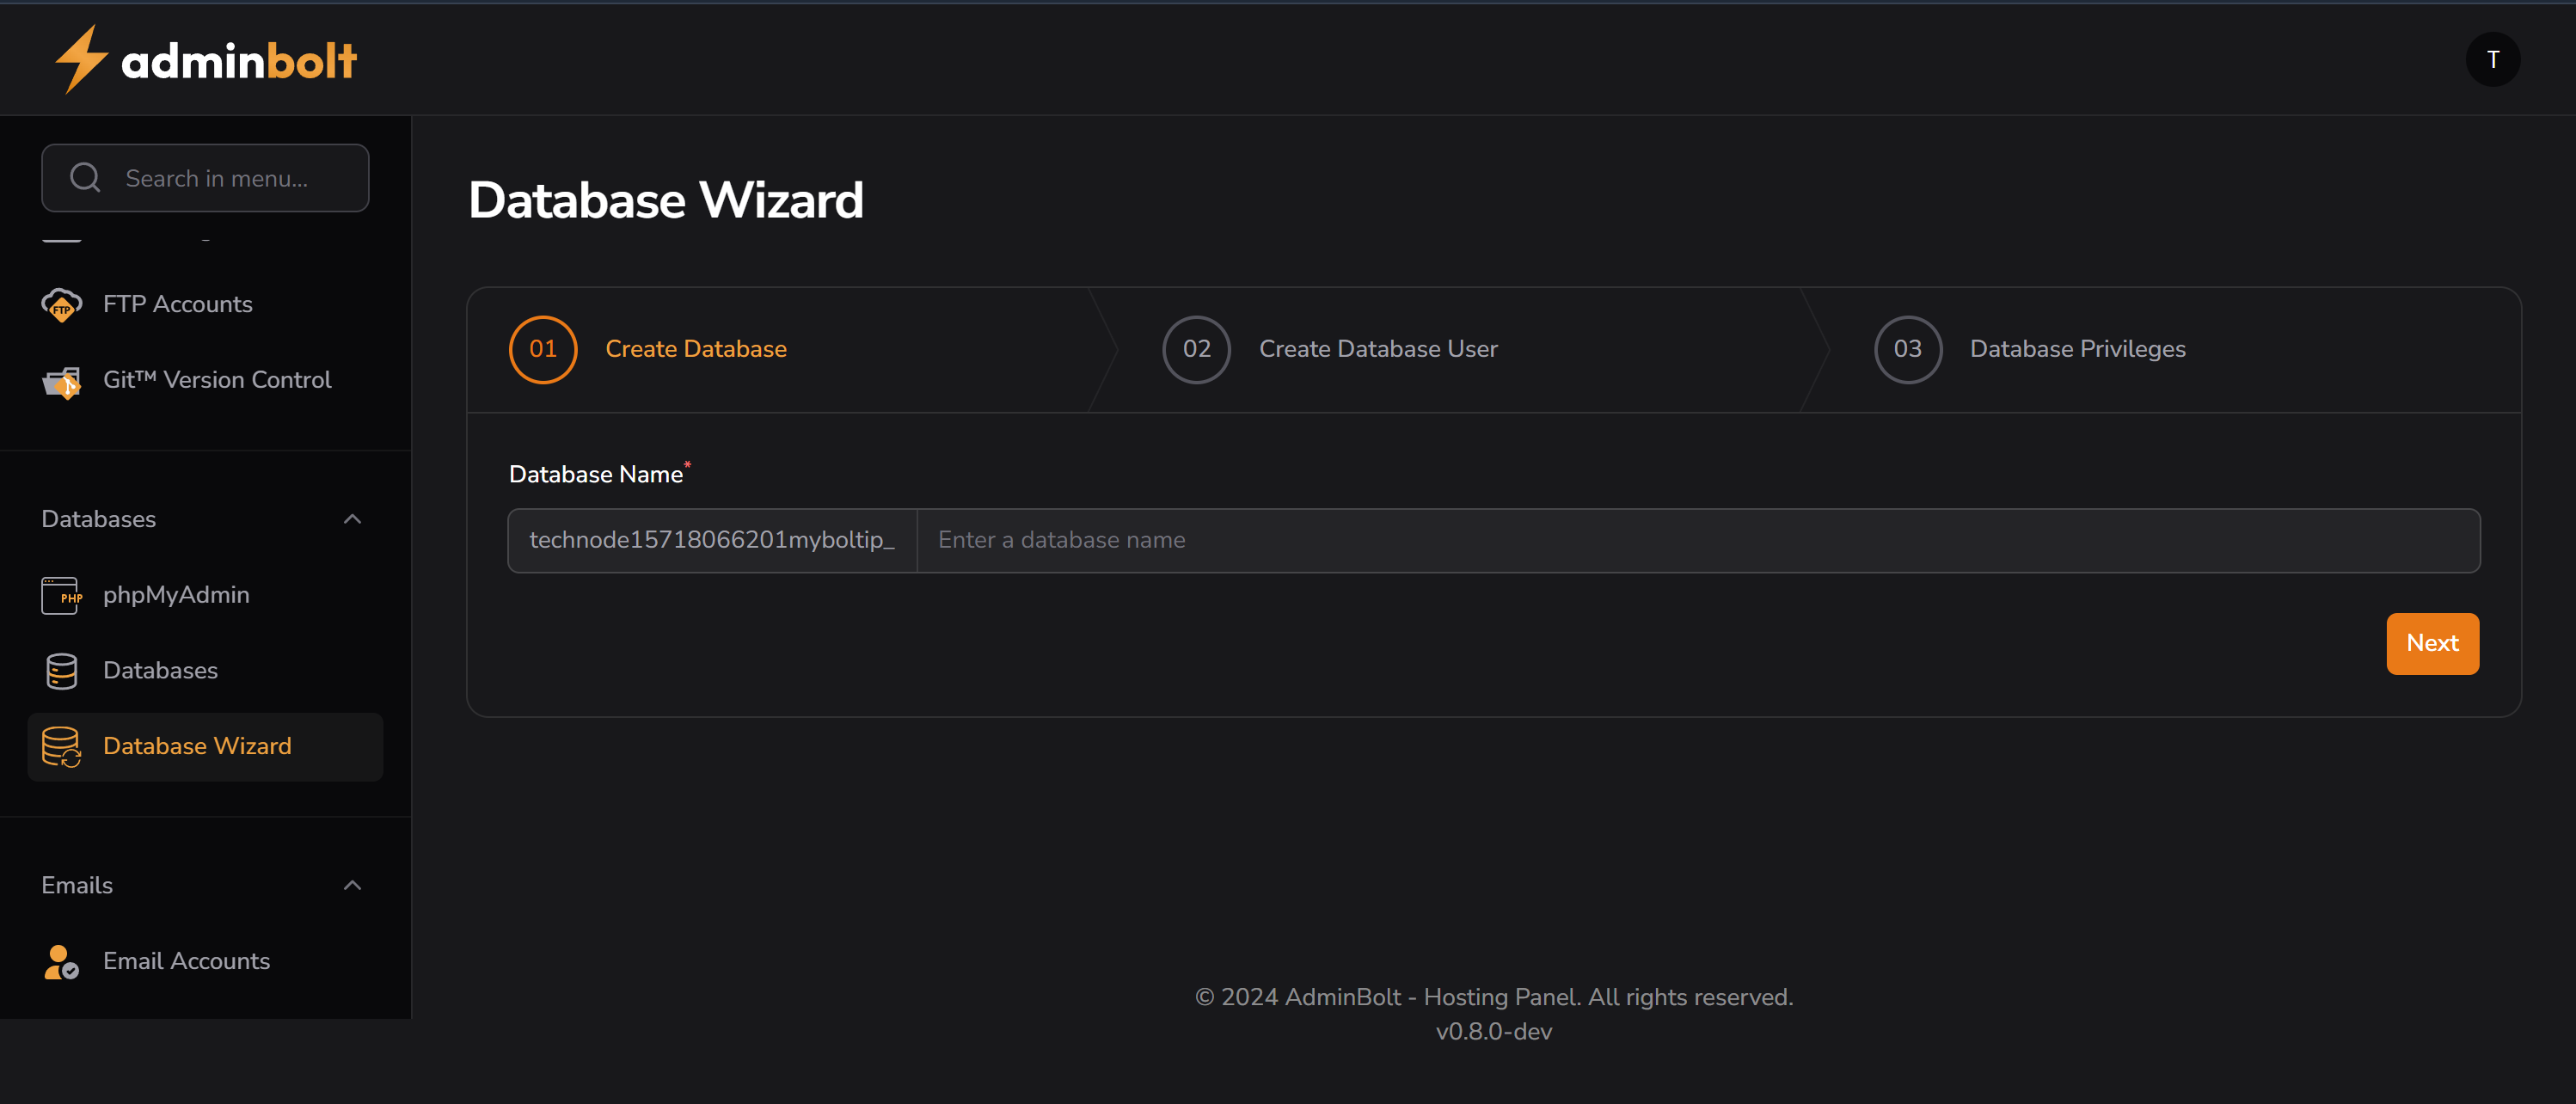
The Database Wizard in AdminBolt simplifies the process of creating and configuring databases. It guides users through three essential steps: creating a database, creating a user, and assigning privileges — all within a clean and user-friendly interface.
Purpose
- Eliminate the need for manual SQL commands during database setup.
- Ensure that each database has a properly linked user with configured permissions.
- Reduce setup errors for new websites, CMS installations, or development environments.
Step-by-Step Flow
Step 01 – Create Database
- Users enter a custom name that will be appended to the account prefix: Once you input the name, click the Next Step button to continue.
Step 2: Create a Database User
This step allows you to create a new user who will have access to the database.
- Fields:
UsernamePasswordConfirm Password
TIP
Ensure that your password is strong. You can use the Generate Password feature if available.
- The passwords must match and meet the panel’s minimum password strength requirement.
- After input, click Next Step.
Step 3: Assign User to Database
The final step is to grant the user privileges to the newly created database.
- A list of privileges (e.g.,
SELECT,INSERT,UPDATE,ALL PRIVILEGES) will be displayed. - You may select specific permissions or use the All Privileges checkbox to grant full access.
- After assigning the permissions, click Finish to complete the wizard.
Upon success, you will receive a confirmation message, and the database and user will be available in the MySQL interface.
Notes
- You can manage the database and users later from the MySQL Databases section.
- If any error occurs during the wizard, you will see a relevant message indicating which step needs correction.