

LVE Manager
The LVE Manager page is where you install and open the CloudLinux LVE Manager web UI, used to manage per-account resource limits, language selectors, and CageFS. In the panel the navigation entry reads LVE Manager and the page heading reads CloudLinux.
This page is the per-view reference. For the full CloudLinux setup workflow (activation, conversion, reboot, selectors, and resource limits), see Integrations > CloudLinux.
Overview
URL: /admin/settings/cloudlinux-lvemanager
Navigate to Settings > CloudLinux > LVE Manager. The entry is listed only when the CloudLinux module is installed.
LVE Manager is available only after the server has been converted to CloudLinux (see the CloudLinux guide). The web UI is installed on demand the first time you open this page.
Install the LVE Manager UI
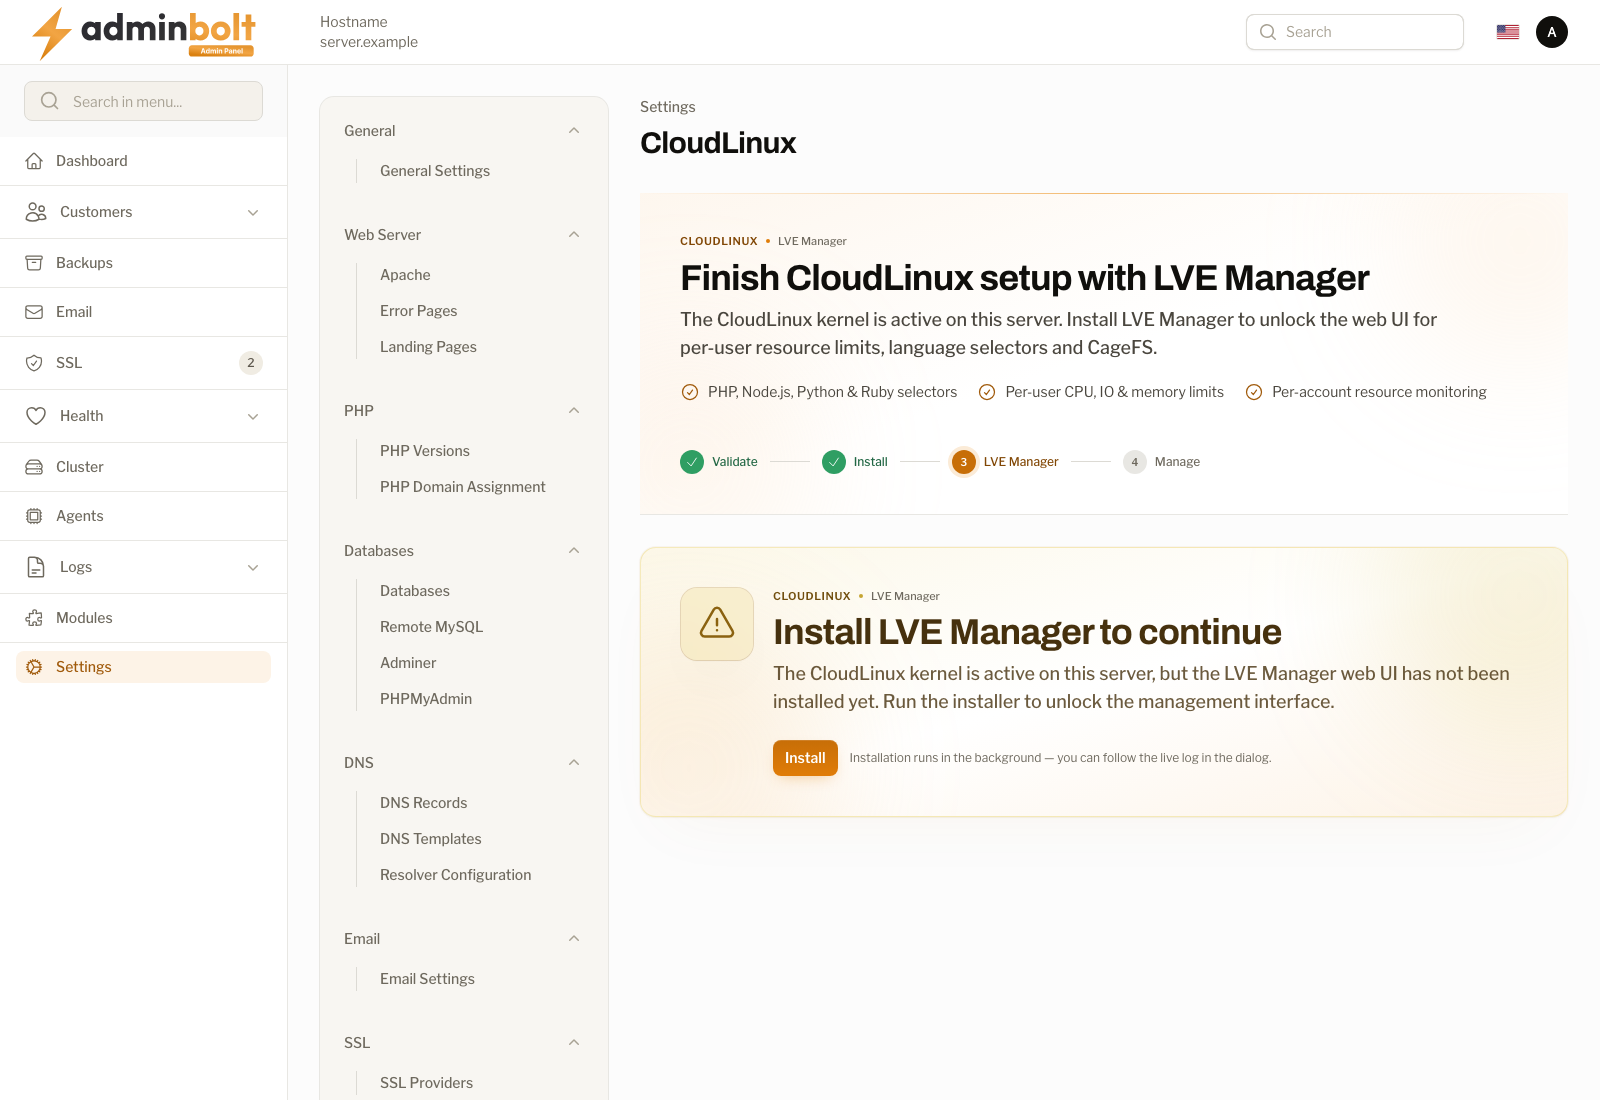
If the UI is not installed yet, the page shows the setup steps (Validate, Install, LVE Manager, Manage) with the current step highlighted, and states that the CloudLinux kernel is active but the web UI is missing. Click Install and confirm; the installation runs in the background with a live log.
The page also lists what the UI unlocks: PHP, Node.js, Python, and Ruby selectors, per-user CPU, IO, and memory limits, and per-account resource monitoring.
Use LVE Manager
Once installed, the native CloudLinux LVE Manager UI is embedded in the panel with single sign-on. Use it to review per-account resource usage and statistics, manage the PHP selector, and configure CageFS. A first-run setup wizard appears on first open; you can skip it.
Since panel 1.9.3, the frame fits the browser window: it grows and shrinks with the content up to the visible height, longer screens scroll inside the frame instead of stretching the page, and wide tables scroll sideways.
Because this UI is the CloudLinux tool rather than an AdminBolt screen, refer to the CloudLinux documentation for detailed guidance on LVE limits, the language selectors, CageFS, and MySQL Governor.
Per-account limits are usually driven from hosting plans (the Resource Limits tab), which push limits to the matching CloudLinux/LVE package. Use LVE Manager for monitoring and for advanced, per-user adjustments.
Related pages
- Integrations > CloudLinux - the full end-to-end setup.
- Hosting Plans - per-account resource limits applied through plans.
- PHP Versions - install and manage Alt-PHP and other engines.