

Dedicated IP for a Hosting Account
A dedicated IP address gives one hosting account an address of its own instead of the address it shares with every other account on the server. AdminBolt keeps every address you register in a pool on the Network IPs page, and an assignment links an address from that pool to a hosting account or to a reseller.
This page covers the whole flow: registering the address, assigning it, applying the change, checking the result, and removing the assignment.
What a dedicated IP gives the account
- Websites. The account's sites answer on the dedicated address instead of the shared server address.
- DNS. The
{{DELEGATED_IP}}placeholder resolves to the dedicated address. In the default template that placeholder is the content of the@andwwwA records, so zones built from the template point at the dedicated address.
Note: On a server running OpenLiteSpeed, the websites part does not apply. Every site there answers on all of the server's addresses. The DNS part still works, so the account's records point at the dedicated address.
What it does not cover
- Mail. An assignment is not applied to mail. The account's mail keeps working exactly as before, and the dedicated address is not used for it.
- The address itself. AdminBolt manages the pool and the assignments. You provide the address: it has to be routed to the server and available on it before the assignment can do anything.
- Records that already exist. DNS records created before the assignment keep their current values. See Step 3.
Which address an account uses
Websites and DNS records resolve the address differently, so read both rows before you rely on an address held at the reseller level.
| What | Address used |
|---|---|
| Websites (not on OpenLiteSpeed) | The account's address, otherwise the address of the account's reseller, otherwise the shared server address |
{{DELEGATED_IP}} in DNS templates | The account's address, otherwise the shared server address |
DNS has no reseller step. An account that relies on its reseller's address serves its sites on that address, while records built from the template still point at the shared server address. Assign the address to the account itself when you need both to match.
Warning: Assign exactly one address per account. If an account holds several, only one of them is used, and which one is not defined.
Before you start
- The address is routed to the server and available on it.
- The assignment is for IPv4. The pool also accepts IPv6 entries, but IPv6 is not supported for account assignments.
- You are signed in to the admin panel. Resellers work from their own pool; see Reseller workflow.
Step 1: register the address in the pool
- Go to Settings > Infrastructure > Network IPs (
/admin/settings/network-ips). - Click New Network IP.
- Fill in the form:
- IP Type (required) - IPv4 or IPv6.
- IP Address / CIDR / Range (required) - a single address, a CIDR block, or a range. Each address in a block or a range is stored as its own pool entry, so
203.0.113.0/29creates eight entries. - Tags - optional labels, useful for grouping addresses by customer or by uplink.
- Default System IP - leave this off. It marks the main address of the panel, not a per-account address.
- Click Create.
New addresses are active as soon as they are created, and an active address is available for assignment. The full field reference is on the Create Network IP page.
Step 2: assign the address to a hosting account
- Go to Settings > Infrastructure > Network IPs.
- Click Edit on the address you registered. The edit page opens with the Service Connections and Resource Assignments tabs below the form.
- Open the Resource Assignments tab and click New Assignment.
- Fill in the form:
- Resource Type (required) - select Hosting Account.
- Resource (required) - search by username or by domain, then select the account. Options are shown as
username (domain). - Notes - optional, for example the ticket number that justified the dedicated address.
- Click Create.
The Assignments column on the Network IPs list now counts the new assignment.
Warning: The admin form does not hold you to one address per account, so check the Assignments count before you use an address that may already be taken. The reseller form does enforce the rule.
Step 3: apply the change
An assignment is recorded right away, but it reaches a domain only when that domain's settings are saved again.
Websites
To apply the address to a domain now:
- Go to Settings > PHP > PHP Domain Assignment (
/admin/settings/php-manager-domains). See Multi PHP Domains Manager. - Click Edit on the domain.
- Save the form without changing any value.
Repeat this for every domain on the account. Adding a domain, changing its PHP settings, and issuing or replacing its SSL certificate apply the address as well.
DNS records
Records built from the template after the assignment use the dedicated address. Records that already exist are left alone, so for an existing account you update the @ and www A records by hand on the DNS Records page.
Warning: The Apply Template action on the DNS Templates page is server-wide. It rebuilds records from the template for the hostname and for every domain, and only records you marked as manual survive. Do not use it to refresh a single account.
Check the result
- On the DNS Records page, the account's
@andwwwA records hold the dedicated address. - Once those records have propagated, the account's sites answer on the dedicated address.
Reseller workflow
Administrators allocate addresses to a reseller, and the reseller assigns them to its own accounts. A reseller cannot add addresses to the pool.
Allocate an address to a reseller
Follow Step 2, but set Resource Type to Reseller and select the reseller. Allocated addresses appear on the reseller's IP Pools page.
An address held by a reseller also covers that reseller's accounts that have none of their own, but for websites only. Their DNS records still point at the shared server address. See Which address an account uses.
Assign an address to an account
In the reseller panel:
- Go to Network Management > IP Assignments (
/reseller/network-i-p-assignments). - Click New IP Assignment.
- Fill in the form:
- IP Address (required) - the list offers only active addresses from the reseller's pool that are not assigned to a hosting account yet.
- Hosting Account (required) - the list offers only the reseller's accounts that do not have an address yet.
- Notes - optional.
- Click Create.
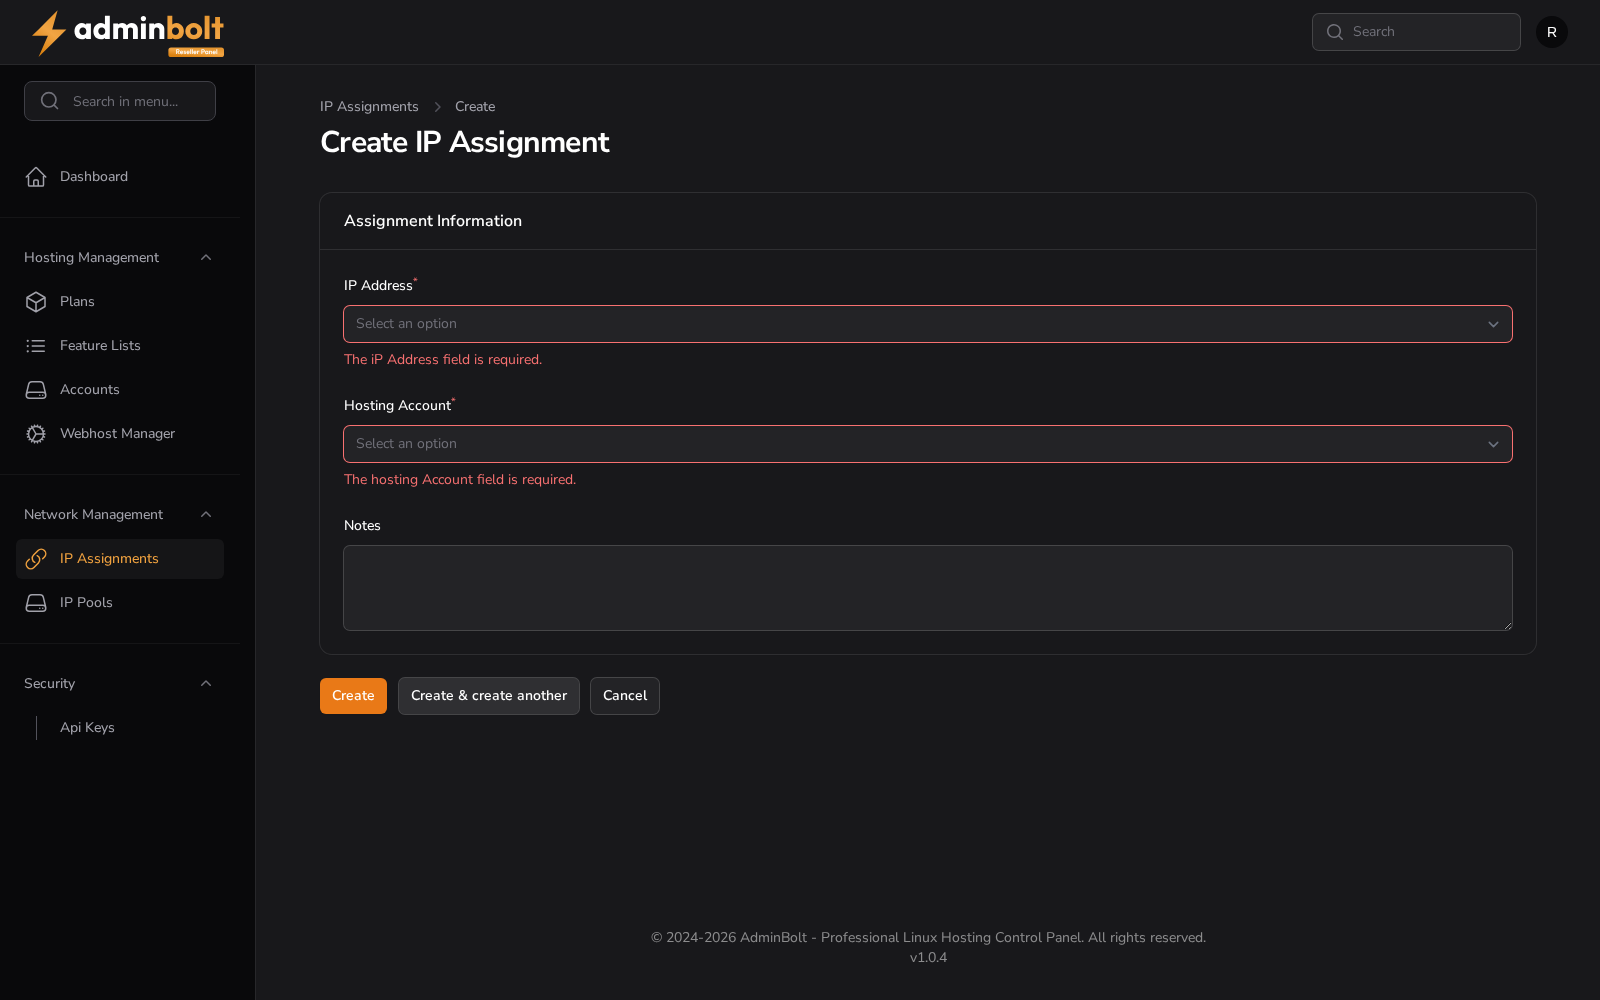
If a submitted pair breaks either rule, the form fails with "This IP address is already assigned to a hosting account." or "This hosting account already has an IP address assigned."
Applying the change works the same way as for an administrator, and it needs admin access. Plan Step 3 together with the reseller.
Full page reference: IP Assignments.
Remove a dedicated IP
- Delete the assignment:
- As an administrator, open Settings > Infrastructure > Network IPs, click Edit on the address, open the Resource Assignments tab, and use Delete on the row.
- As a reseller, open Network Management > IP Assignments and use Delete on the row.
- Apply the change as described in Step 3, so the account stops using the address.
- Update the account's DNS records, which still point at the released address.
- Only then take the address off the server, and remove it from the pool if you no longer need it.
Warning: Keep this order. An account that still expects an address the server no longer holds stops serving its sites.
Rules and limits
- Assign one address to one account.
- Deleting an address from the pool also deletes its assignments. The affected accounts fall back to the reseller address, or to the shared server address, the next time their domains are saved.
- The default system IP cannot be deleted from the pool.
- Treat a pool entry as immutable. The edit page states that an address cannot be changed after creation, so correct a typo by deleting the entry and creating a new one.
- Addresses created through the panel are active. The panel does not expose a toggle to deactivate them.
Related pages
- Network IPs - the address pool and its table.
- Create Network IP - field reference for the creation form.
- DNS Templates - where the
{{DELEGATED_IP}}placeholder is defined. - DNS Records - editing records for an existing zone.
- IP Pools and IP Assignments - the reseller side.