

General Settings
The General Settings page configures core system settings: organisation details, branding, networking, DNS, and web server defaults. Navigate to Settings > General > General Settings, or open Settings in the sidebar, which lands here.
Overview
URL: /admin/settings/general-settings
The page is organised into five tabs: General, Branding, Networking, DNS, and Web Server.
Every tab has its own address, so you can link to one directly and reload the page without losing your place:
| Tab | Address |
|---|---|
| General | /admin/settings/general-settings?tab=general |
| Branding | /admin/settings/general-settings?tab=branding |
| Networking | /admin/settings/general-settings?tab=networking |
| DNS | /admin/settings/general-settings?tab=dns |
| Web Server | /admin/settings/general-settings?tab=web-server |
Opening the page without a tab value shows General. Each tab saves on its own, so use the button on the tab you edited.
1. General
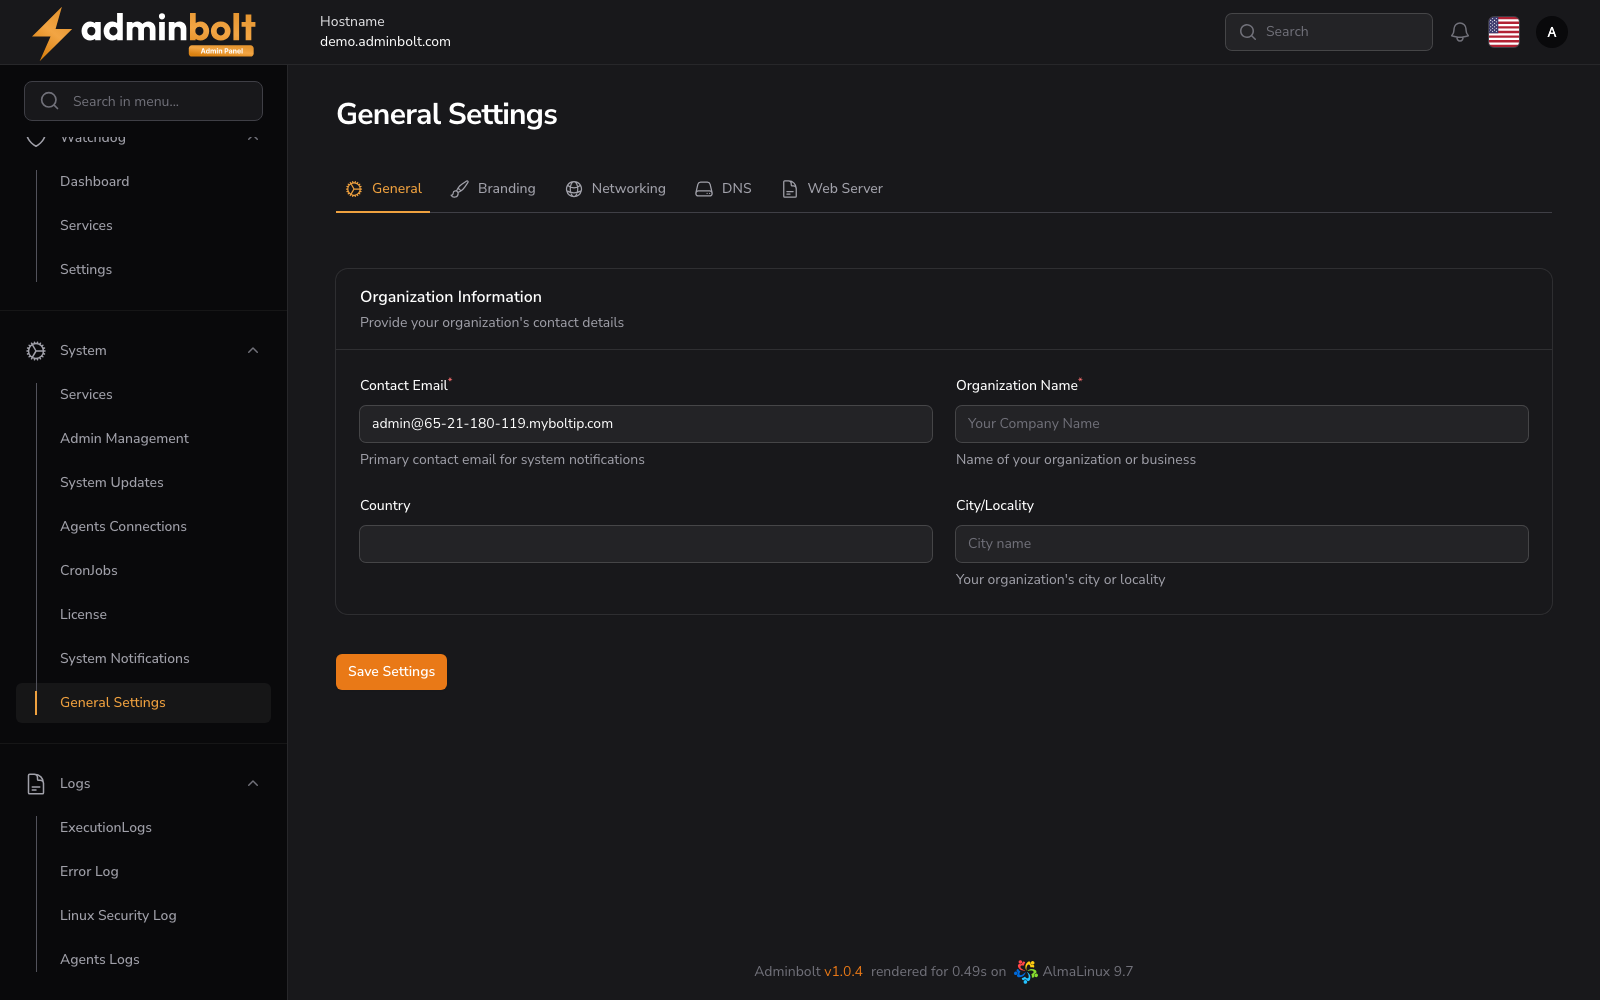
Configure your organisation's basic information. The screenshot above shows this tab.
Organization Information
- Contact Email (required) - The primary contact email address for the organization.
- Organization Name (required) - The name of your organization.
- Country - The country where the organization is located.
- City/Locality - The city or locality of the organization.
Click Save Settings to apply changes.
2. Branding
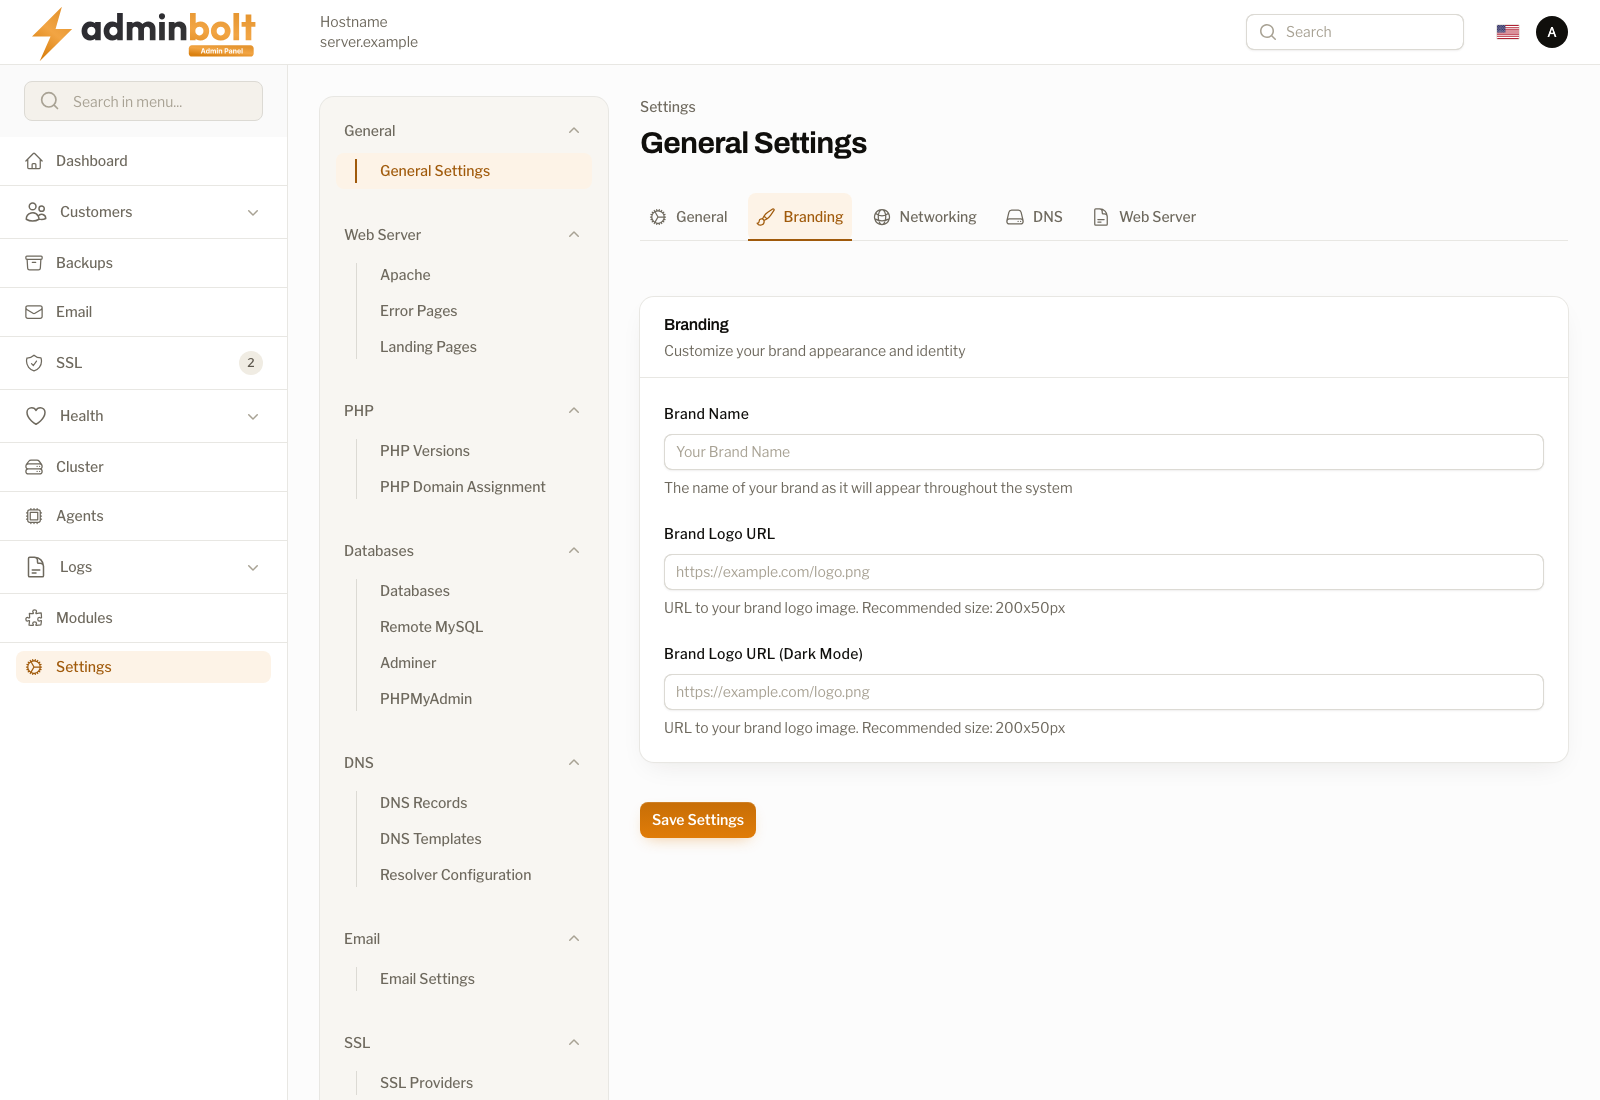
Customize the panel's visual identity.
- Brand Name - The name displayed in the panel interface.
- Brand Logo URL - URL to the logo image displayed in the panel. Recommended size is 200x50px.
- Brand Logo URL (Dark Mode) - URL to the logo image used when dark mode is active.
Click Save Settings to apply changes.
3. Networking
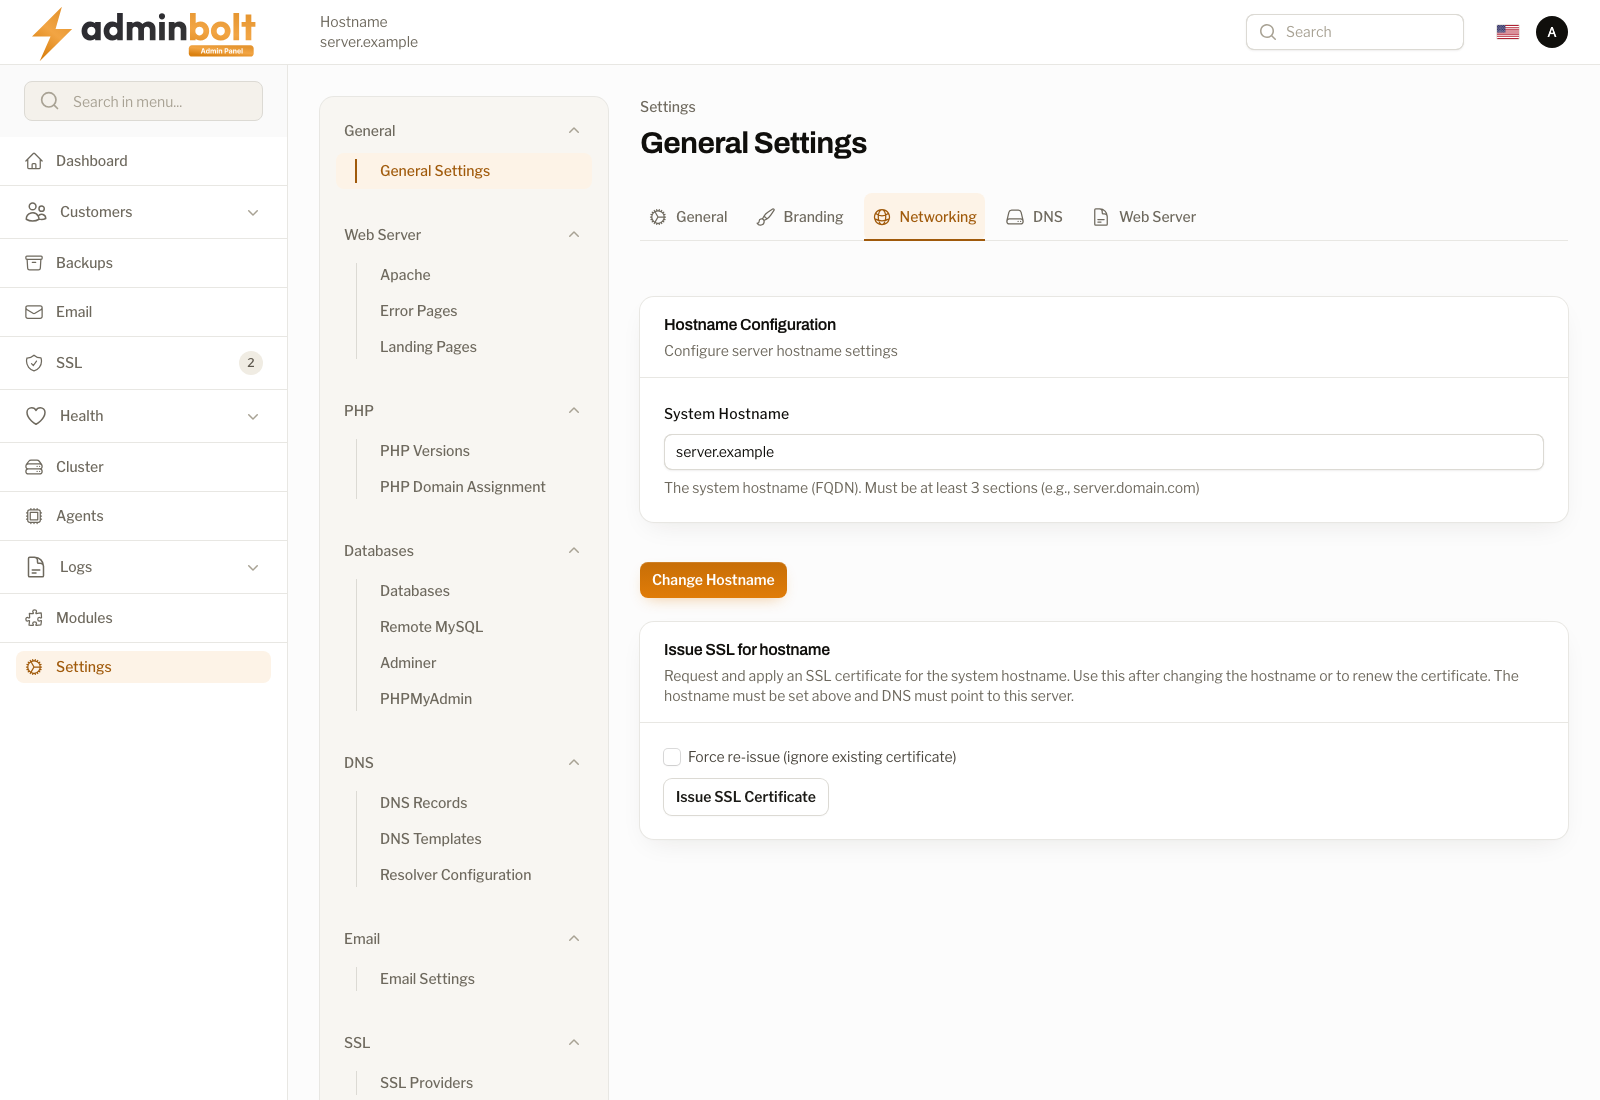
Manage hostname and SSL certificate settings.
Hostname Configuration
- System Hostname - The fully qualified domain name (FQDN) of the server. Must contain at least 3 sections (e.g.,
host.example.com).
Click Change Hostname to apply a new hostname.
Issue SSL for Hostname
This section allows you to issue an SSL certificate for the configured hostname.
Click Issue SSL Certificate to request and install a certificate.
4. DNS
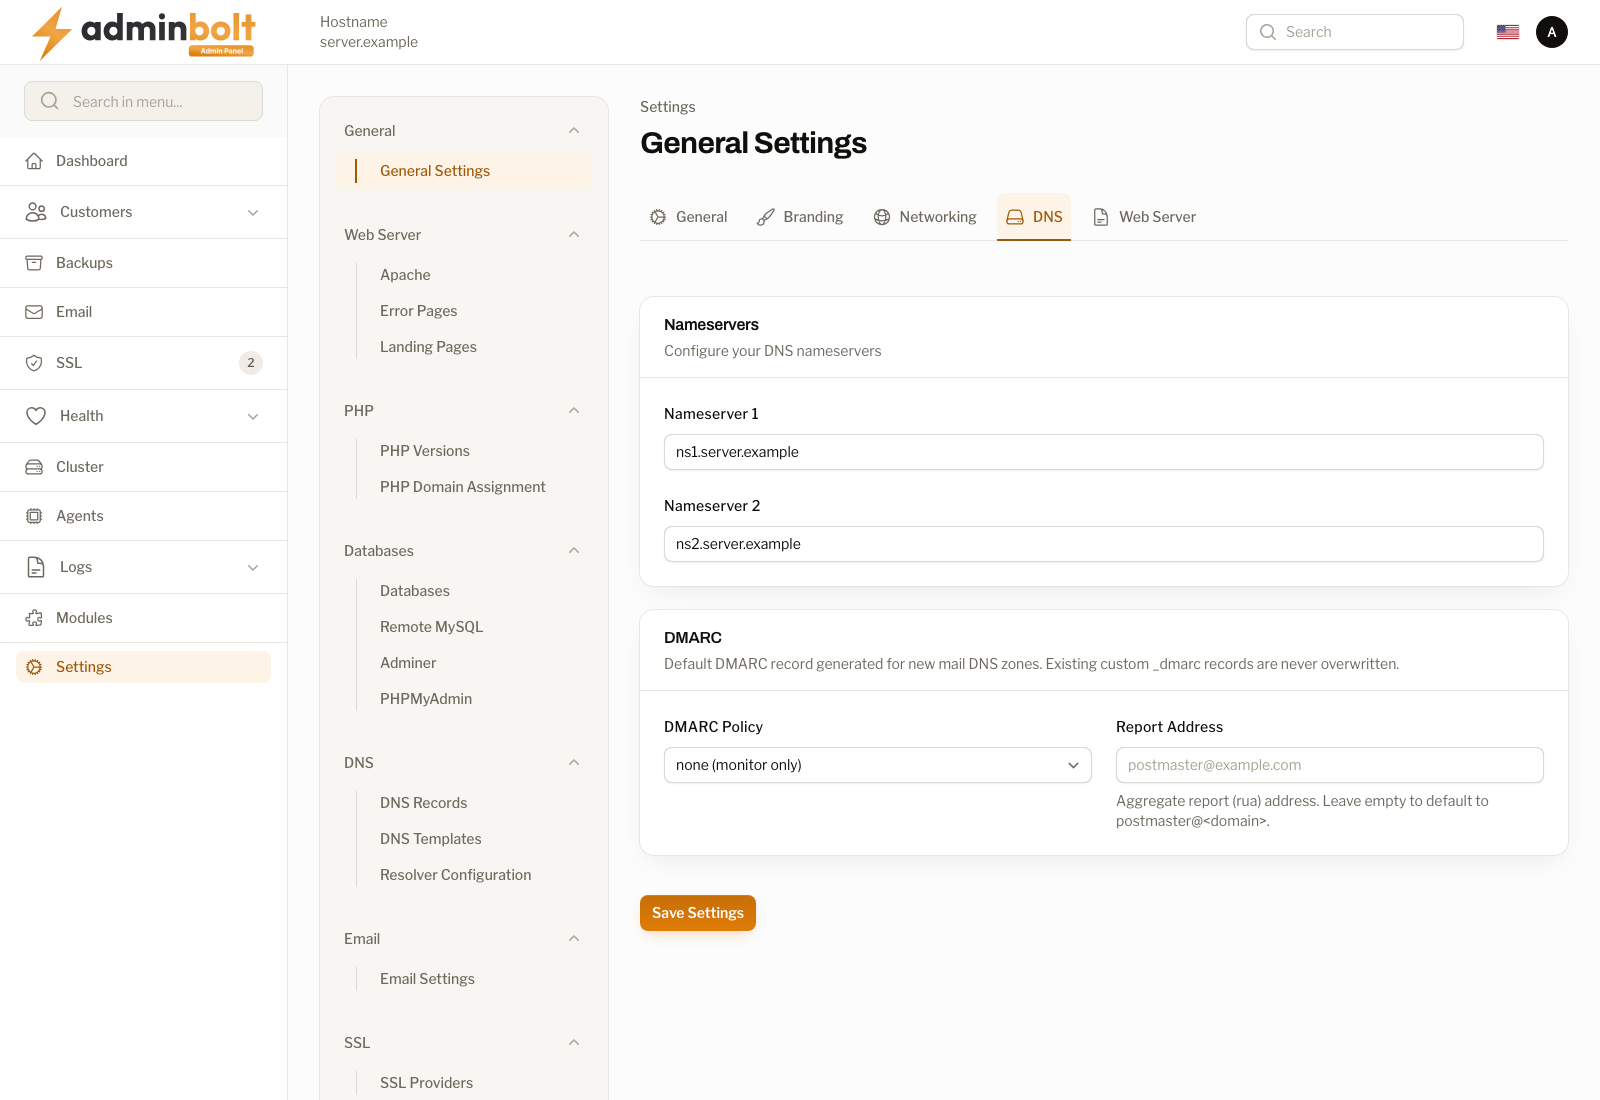
Configure the default nameservers for the system and the default DMARC record for new mail zones.
Nameservers
- Nameserver 1 - The primary nameserver address.
- Nameserver 2 - The secondary nameserver address.
DMARC
The default DMARC record generated for new mail DNS zones. AdminBolt builds it as v=DMARC1; p=<policy>; rua=mailto:<address> and uses it both when provisioning mail DNS and in the DNS record templates.
- DMARC Policy - what a receiving server should do with mail that fails authentication:
| Value | Meaning |
|---|---|
| none (monitor only) | Take no action; only send reports. The default, and the right starting point on a server whose mail flows are not yet fully authenticated. |
| quarantine | Treat failing mail as suspicious, typically filing it as spam. |
| reject | Refuse failing mail outright. |
- Report Address - the aggregate report (
rua) address that receiving servers send DMARC reports to. Leave it empty to default topostmaster@<domain>for each zone.
Note: A
_dmarcrecord you created by hand is never overwritten or duplicated. These settings only supply the record AdminBolt generates for a zone that does not have one.
Click Save Settings to apply changes.
5. Web Server
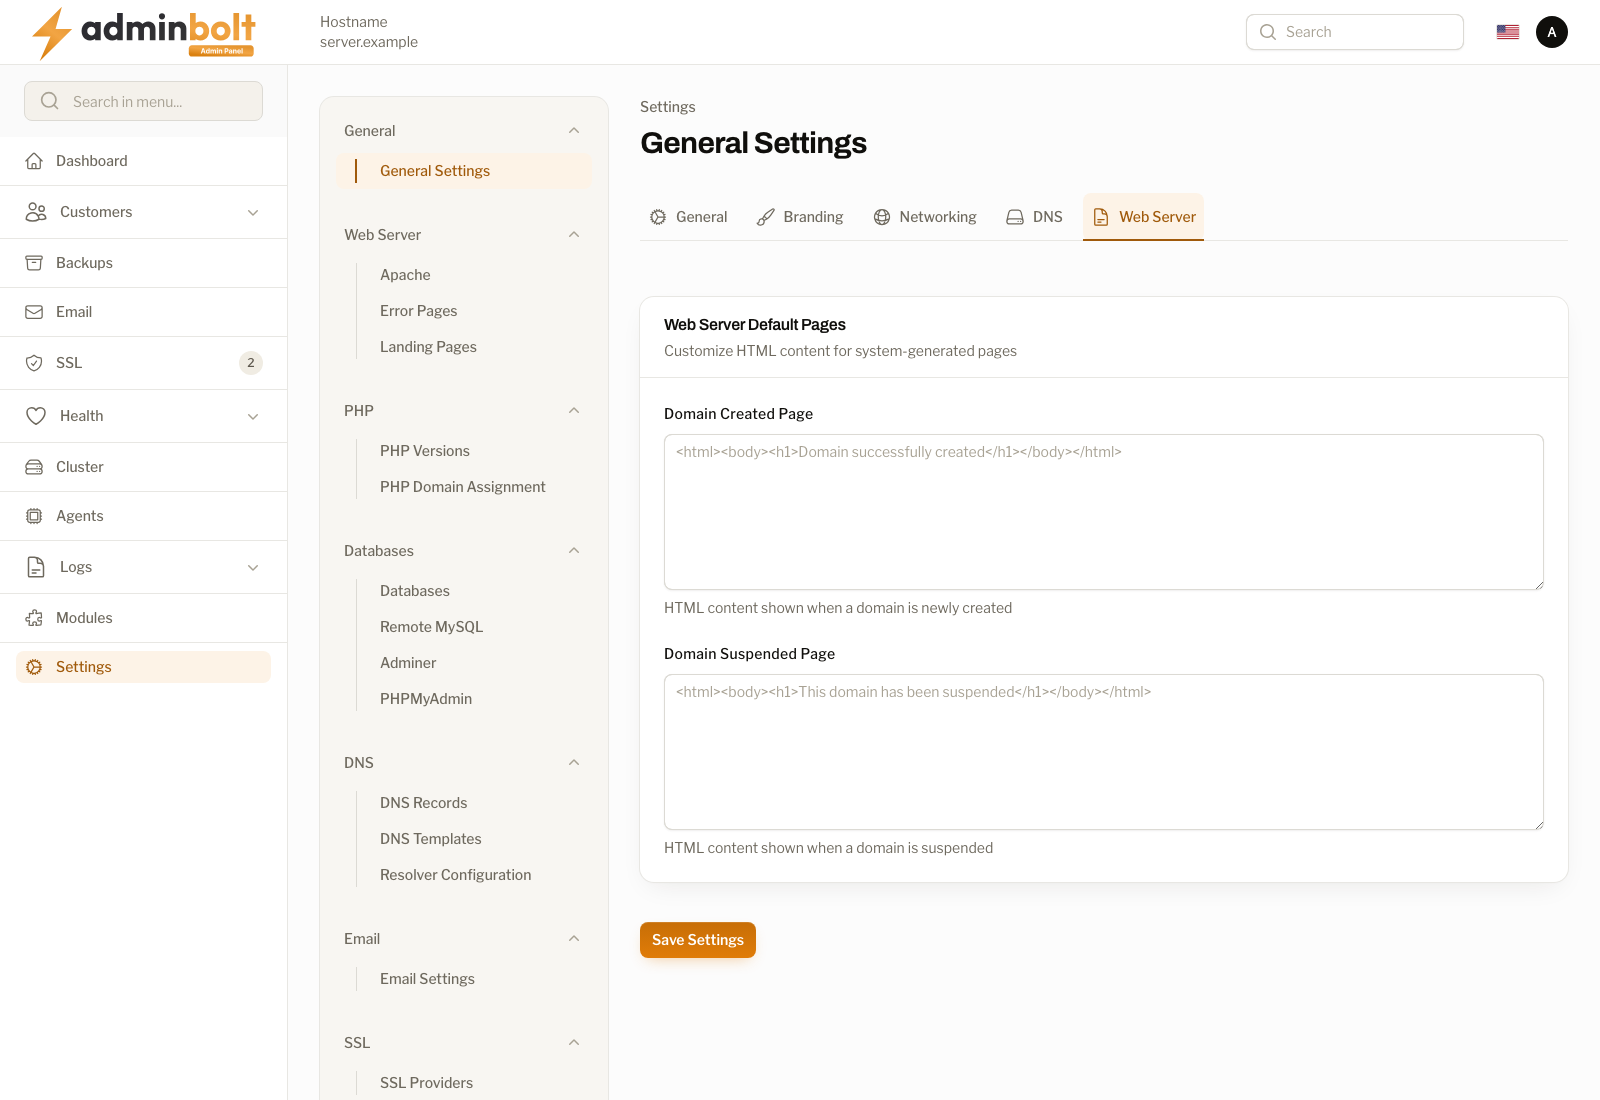
Customize HTML content for system-generated web server pages.
Web Server Default Pages
- Domain Created Page - HTML content shown when a domain is newly created. Default placeholder:
<html><body><h1>Domain successfully created</h1></body></html>. - Domain Suspended Page - HTML content shown when a domain is suspended. Default placeholder:
<html><body><h1>This domain has been suspended</h1></body></html>.
Click Save Settings to apply changes.
6. Redis instances
Bound what all account Redis instances on this server may take together. Each account's own instance is set up under Redis in the client panel, and its per-account memory ceiling comes from the hosting plan; this tab is the ceiling above all of them.
Account Redis instances
- Memory budget (MB) - how much memory every enabled account instance may claim between them. An account can turn Redis on only while its ceiling still fits in the budget. Leave it at
0to let the server work the budget out from its own installed memory. - Maximum instances - how many accounts may run an instance at once. An account that would exceed the count is told the server already runs as many instances as its administrator allows.
- In use - read-only, showing how much of the budget the instances enabled today have reserved.
A suspended account's instance stays down until the account is unsuspended, a restart of the server included.
Click Save Settings to apply changes.